
When it comes to error, the most popular content management system WordPress has its own ways to give hell to its users.
Post processing image failure is no exception to it. There are a lot of image upload errors in the WordPress CMS. This post is all about resolving the WordPress error code:
“Post processing image failed likely because the server is busy or does not have enough resources. Uploading a smaller image may help. Suggested maximum size is 2500 pixels.”
If you do not have the exact same error mentioned above, then this fix is probably not for you. However, you are always welcome to follow the steps and see if it works for you or not.
What’s post processing image failed WordPress error anyway?
This error has a pretty self-explanatory description, that indicates the fact that the image you want to upload to the server can’t complete. As the server doesn’t meet the requirements.
Or in simple words, the machine where your WordPress websites are hosted, cannot process the job you have assigned to it.
Therefore, it is suggesting to upload a smaller size image instead. To bypass this error we will follow 2 steps, method one will fix the filesize upload issue, and the other will fix the image processing!
As you are going to make changes to the server configuration, then it’s always a good practice to take a backup of your website files, just in case.
So let’s dive into the steps:
Method 1: Updating Server’s PHP
Step 1 
Step 2 
Step 3
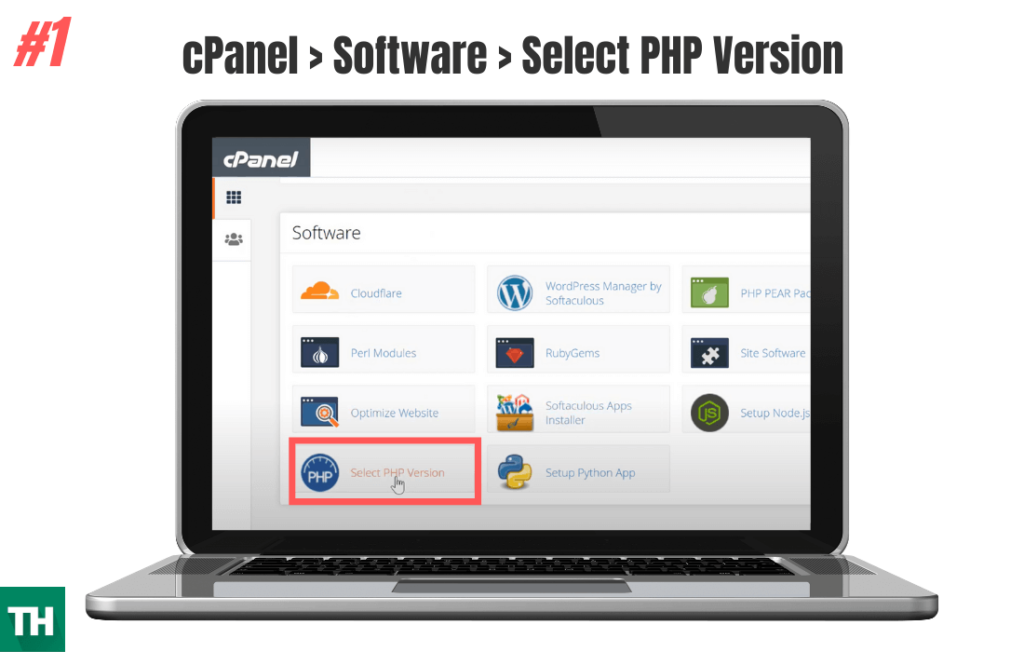
- log in to your Cpanel account (yourdomain.com/cpanel) or login to your hosting portal.
- Once logged in successfully, scroll down to the section where it says Software and click “PHP Select” and select it.
- Select “Options” besides the Extensions under PHP Selector.
- Scroll down to where it says memory_limit & post_max_filesize and set the limit to 512M or 1G from the dropdown. (check out the gallery for more information).
- Go back to your WordPress dashboard and reload your page, upload and see whether it resolves the error.
Note: If there is no “Options” tab available then, navigate to, “Php Extensions”, here you can check whether if you are running the latest version of the Php on your server.
There is a dropdown in front of “Current PHP version”, select the latest version and click set it as the current version.
Method 2: Disabling Optimization Library
If you are reading this, then method 1, seems not to work for you 😛. Now you have set the maximum file limit your WordPress site can upload, we will try disabling the PHP image optimization library.

Step 1 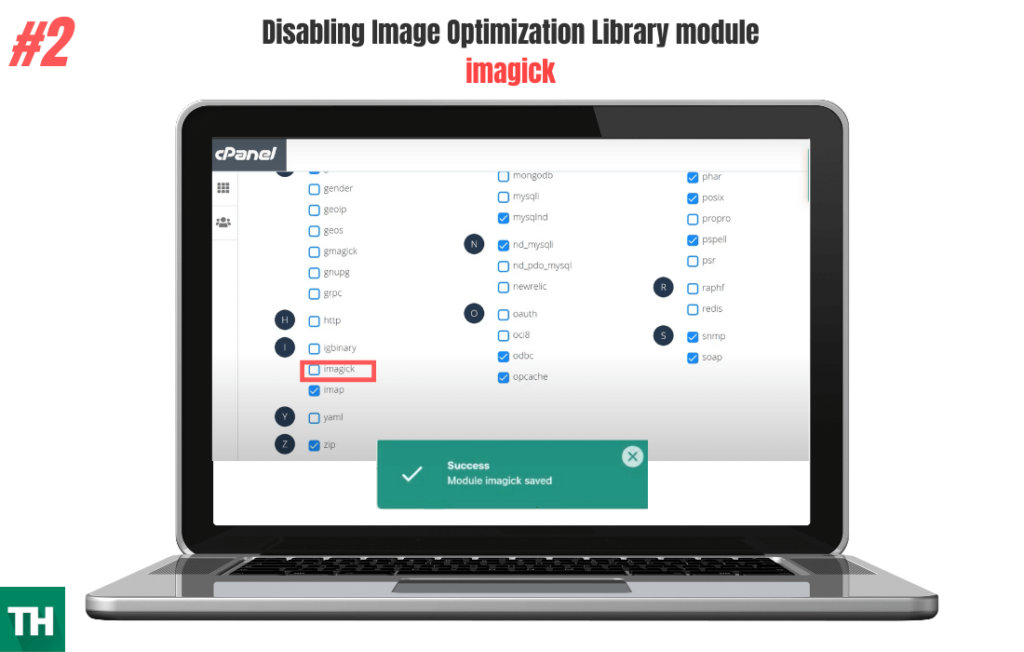
Step 2
- Go back to the PHP selector Extensions tab, and scroll down to find two libraries called “GD” & “imagick”.
- Uncheck the imagick option. (Keep in mind that GD is checked)
- Once you get the Cpanel Success response, go back to your WordPress dashboard.
- This step is IMPORTANT!! you need to RELOAD the page where you were uploading the images. (I didn’t reload the page and spent more time fixing and crashing things. 😛)
Checkout the gallery for steps.
Cheers!! Now hopefully, the post processing image failed error has gone by now! If not, then I will definitely recommend you to contact your hosting provider.
Some hosting providers offer a custom Cpanel to their respective customers, in that case, you won’t be able to locate the Php Selector option. So, raising a ticket for increasing the limit and the other steps mentioned might help.
If you have crashed something on your server then I would highly recommend you to rollback all the changes you have made.
Still, didn’t fix? Comment down below, I will soon get back to you. Happy blogging!
2 Comments
The first method worked, thanks! I used godaddy and was able to fix this issue easily.
Glad it helped, John. 🙂